Swapping OEM (Original Equipment Manufacturer) slides with custom milled slides has become a popular practice among firearm enthusiasts looking to enhance their shooting experience. This article provides a step-by-step guide to help you navigate the process of swapping your OEM slide for a custom milled slide effectively and safely.
Step 1: Research and Selection
The first step is to conduct thorough research and select a reputable manufacturer or gunsmith who specializes in custom milled slides. Take the time to explore different options, read reviews, and examine their previous work. Consider factors such as compatibility with your firearm model, available customization options, and customer satisfaction.

Step 2: Clear and Unload the Firearm
Prior to any modifications, ensure the firearm is unloaded and cleared of any ammunition. Follow proper safety protocols, including removing the magazine and visually inspecting the chamber to verify that the firearm is empty. Safety should always be the top priority during any firearm-related procedures.
Step 3: Disassembly
With the firearm cleared, begin disassembling the pistol according to the manufacturer’s instructions. This typically involves field stripping the firearm, removing the slide, barrel, recoil spring, and any other components necessary for the slide swap. Follow the specific disassembly steps outlined in your firearm’s manual.
Step 4: Slide Removal
Once the firearm is disassembled, focus on removing the OEM slide. This typically involves retracting the slide partially, aligning the takedown lever or disassembly notch, and carefully sliding the slide assembly off the frame. Be cautious not to damage any internal components during this process.
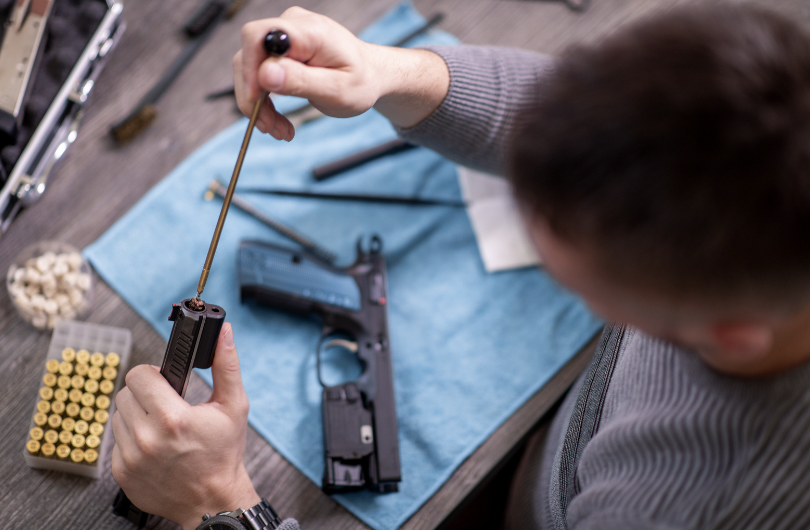
Step 5: Cleaning and Inspection
With the OEM slide removed, take the opportunity to clean and inspect the frame, internal components, and other parts of the firearm. Remove any debris, lubricate critical areas as recommended by the manufacturer, and visually inspect for any signs of wear or damage. This step ensures that your firearm is in optimal condition before installing the custom milled slide.
Step 6: Installing the Custom Milled Slide
Follow the manufacturer’s instructions for installing the custom milled slide onto the frame. Carefully align the slide rails with the corresponding grooves on the frame and gently slide the new slide assembly onto the frame. Ensure a snug and proper fit, paying attention to any alignment markers or indicators provided by the manufacturer.
Step 7: Reassembly
Once the custom milled slide is securely in place, proceed with reassembling the remaining components. This typically involves reinserting the barrel, recoil spring, and other associated parts. Follow the manufacturer’s instructions to ensure each component is properly aligned and fitted.

Step 8: Function and Safety Check
With the firearm fully reassembled, perform a function and safety check. Cycle the slide manually to ensure smooth operation and proper alignment. Verify that the trigger functions correctly and that all safety mechanisms are operational. Conduct a thorough inspection to confirm that everything is in working order before proceeding.
Step 9: Range Testing and Fine-tuning
Before relying on the modified firearm, it is crucial to conduct range testing. Start with a few rounds to ensure proper function and reliability. Pay attention to factors such as slide movement, ejection patterns, and overall performance. If necessary, make any necessary adjustments or fine-tuning to ensure optimal functionality.
In conclusion, Swapping OEM slides for custom milled slides requires careful consideration and adherence to proper procedures. By following this step-by-step guide, you can confidently navigate the process of swapping your OEM slide with a custom milled slide. Remember, if you are uncertain about any step, consult with a qualified gunsmith or manufacturer for professional guidance. With attention to detail and a focus on safety, you can enhance your